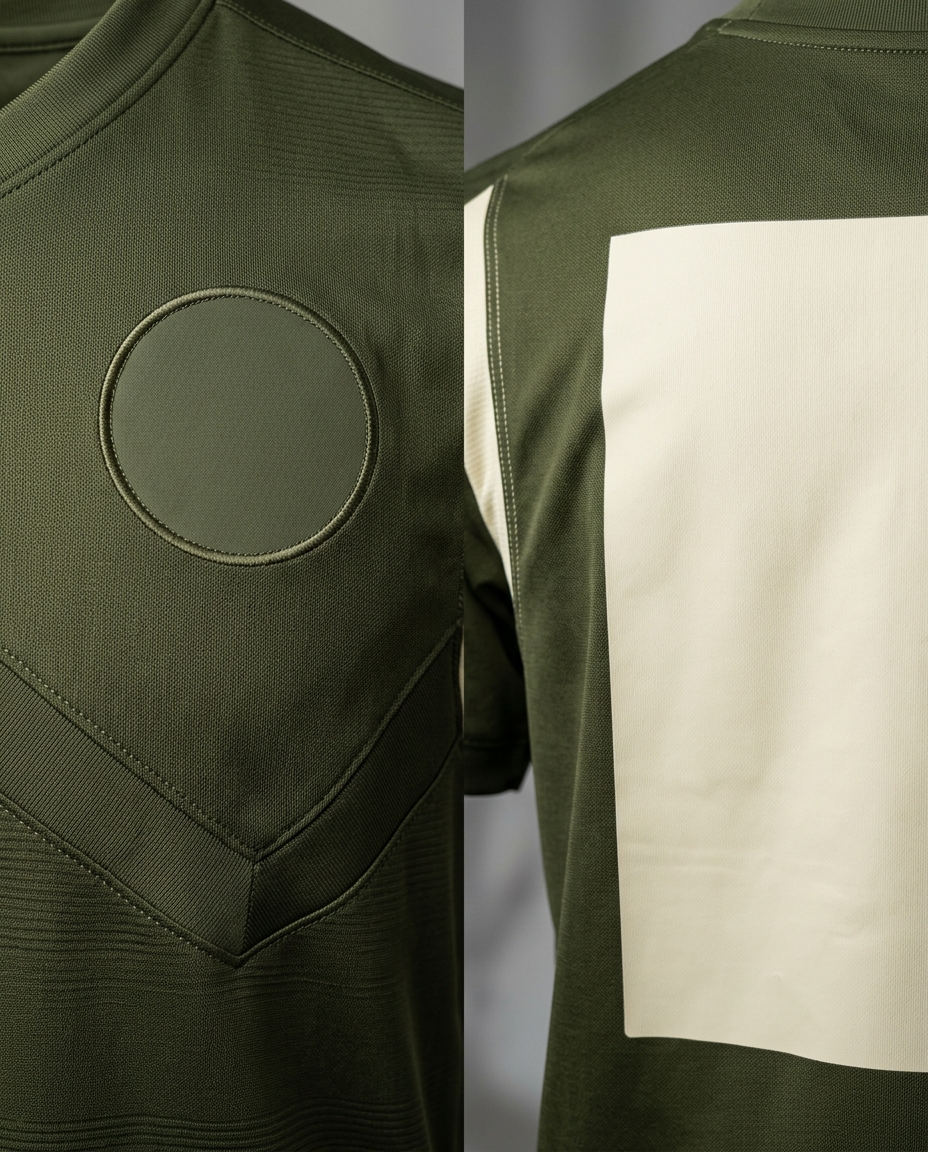
A custom teamwear brief needs more than a logo file and a list of player names. Front and back layouts, sponsor marks, team crest, colours, player numbering, name spelling, size range, application method, and approval order all affect the sample and final kit. When those inputs are scattered across chat messages or different versions of a design, avoidable errors become more likely.
A clear artwork and numbering pack creates one traceable reference for the buyer, designer, and production team. ZM Exports develops made-to-spec teamwear and records sample and quality checkpoints. Exact artwork, colours, components, methods, quantities, timelines, prices, and results remain project-specific and require written approval.
Key takeaways
- Use one approved front, back, and side layout for each garment style.
- Supply final team, sponsor, and crest artwork with named versions and colour references.
- Define placement from stable garment points, not only visual descriptions.
- Separate the repeatable team design from the player-by-player name and number roster.
- Approve a represented sample and final roster before personalised production begins.
1. Map every garment and visible surface
List every item in the kit: jersey, shorts, socks, warm-up layer, training top, jacket, or other buyer-selected piece. For each style, provide front, back, side, and detail views. Mark team crest, sponsor logo, manufacturer mark if applicable, sleeve mark, name, number, captain marking, trim, panel, and any required pack identifier.
Treat each garment as its own layout. A sponsor mark that fits a jersey front may not translate directly to a jacket or short. State which marks repeat across the program and which are style-specific, optional, or pending approval.
2. Release final artwork with clear versions
Provide the current approved artwork for each mark and give it a stable file name, revision, and date. Identify artwork owner, colours, orientation, permitted background, minimum or maximum size, and whether a mark may be simplified, reversed, or recoloured. Confirm any licence or permission that the buyer is responsible for before production use.
Keep a single artwork register alongside the files. It should state the garment style, location, application method, dimensions, and decision status. This avoids a common problem: a design proof shows one logo version while the production folder contains another.
3. Define placement from measurement points
Descriptions such as centre chest, left sleeve, or upper back are useful but incomplete. Define placement from a stable garment point such as centre front, neckline seam, shoulder seam, side seam, hem, or panel join. State direction of measurement, finished position, garment state, and the buyer-approved tolerance or visual standard.
Show how the rule applies across adult, youth, and other size groups. A fixed transfer size or fixed distance can look different on the smallest and largest garments. Review represented sizes and note where a size-specific adjustment is required.
4. Connect colour and application method
Record the intended garment colours, panel colours, trim, and artwork colours with the buyer's chosen reference system or approved physical reference. Identify the agreed application method for each location, such as print, transfer, embroidery, patch, or another buyer-approved method. The method, fabric, stretch, seam proximity, and placement need to be considered together.
Review the represented assembly for coverage, edge behaviour, stretch, recovery, heat response, bulk, comfort, colour appearance, and interaction with seams or mesh panels. Any change to artwork, fabric, backing, adhesive, thread, colour, or method should trigger a focused review of the affected item.
5. Build a controlled player roster
Keep personalisation in a separate, structured roster rather than annotating individual design images. For each unit, state order line, player name exactly as it must appear, player number, garment style, colourway, size, and any special marking. Add a clear policy for duplicate names, accents, punctuation, suffixes, number range, and blank or reserve garments.
Confirm who is authorised to approve spelling and numbers. Once personalised applications begin, changes may require new components or garments. Lock the roster version, date, and approver before the personalisation stage, and use the same identifiers for packing and final checks.
6. Approve the proof and sample in sequence
First review the digital proof for artwork version, layout, position, colour direction, player name treatment, number style, and garment identity. Then review a represented physical sample for appearance on the actual material and construction. A digital proof cannot fully show stretch, texture, seam interaction, hand feel, or the visual effect of a mark on a worn garment.
Record comments against the current proof or sample only. State whether changes affect artwork, placement, colour, method, size range, roster, or all of them. Release the next stage in writing so the production team does not need to interpret informal approval messages.
7. Release teamwear personalisation to production
Issue one current pack containing kit map, artwork register, colour references, placement sheet, size rules, application details, represented sample decision, player roster, packaging instructions, quality limits, approvers, and effective date. Remove superseded rosters and proofs from the production route.
Check the first completed unit for each garment style, application method, colourway, and size group. During production, verify garment identity, size, name, number, layout, application condition, and packing against the controlled roster. Reopen approval when a roster, artwork, material, application method, or size rule changes.