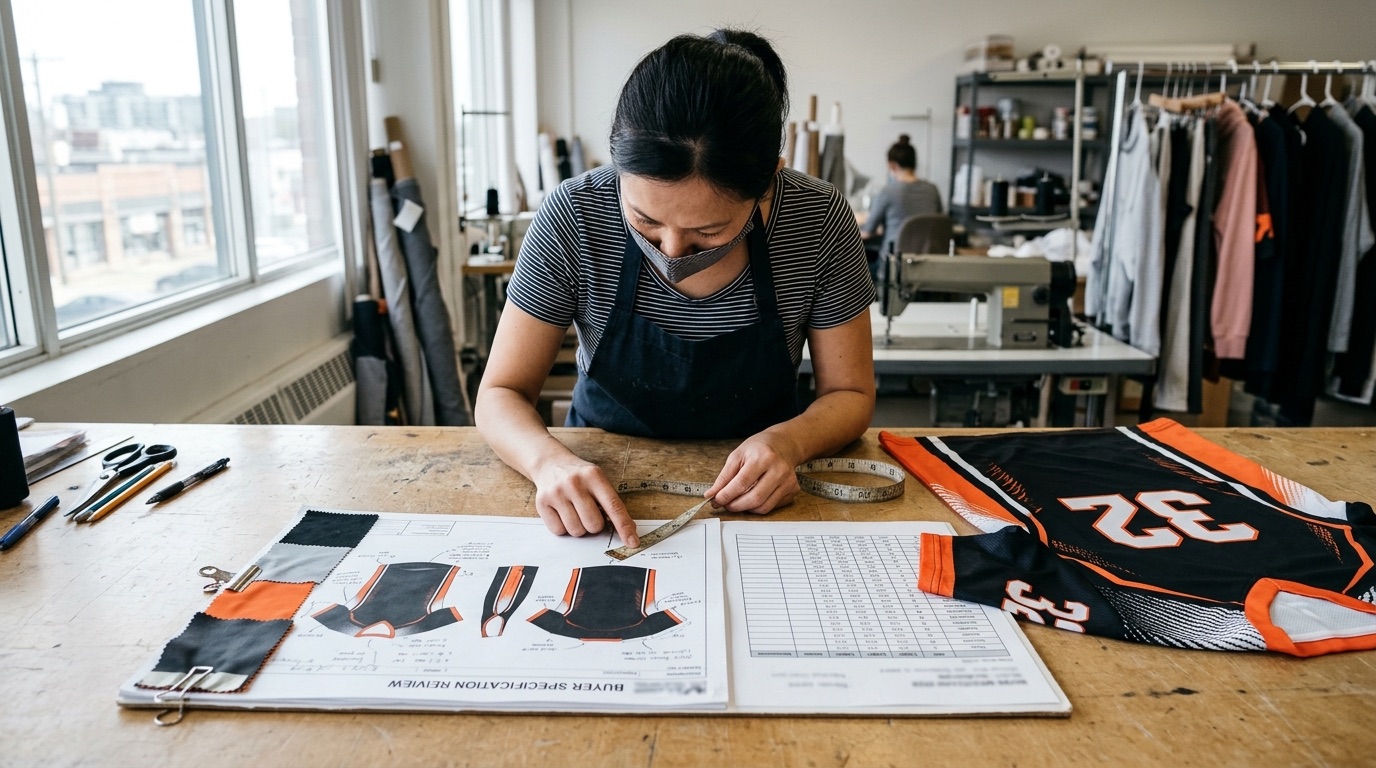
A manufacturing quote is only as useful as the information behind it. A product name and reference image may be enough to start a conversation, but they are not enough to compare quotations, control a sample, or approve bulk production.
A practical apparel tech pack turns the design into a shared written reference. It tells the manufacturer what the product is, how it should fit, which materials and trims are intended, where decoration belongs, and what still needs to be confirmed. The goal is not to make the first file perfect. The goal is to make assumptions visible before they become cost, delay, or rework.
Key takeaways
- Identify every style and revision clearly.
- Show construction, measurements, materials, trims, colors, and artwork.
- Separate confirmed requirements from options that need manufacturer input.
- Include quantities, destination, packing, testing, and approval expectations.
- Update the tech pack after each approved change so one current version controls the order.
1. Start with product identity and intended use
Give each style a unique style number, product name, season or collection, and revision date. If a project contains a jacket, trouser, and base layer, treat them as separate styles even when they share colors or branding. Clear identification prevents comments, samples, and quotations from being attached to the wrong product.
Add a short statement explaining the intended user and use case. A training top, quiet hunting layer, ski shell, and oversized streetwear hoodie may all use similar garment language, but their fit, fabric, construction, and testing priorities are different. State the destination market and whether the product is a standalone garment or part of a coordinated range.
- Style control
- Style number, product name, season, version, and date.
- Use case
- Activity, climate, layering position, target customer, and intended wear conditions.
- Reference status
- Mark inspiration images as direction only unless a feature is also written into the specification.
2. Add technical drawings and construction callouts
Include clear front and back flat drawings. Add side, inside, hood, pocket, cuff, waistband, or closure views when those areas contain important construction. Photographs can support the brief, but drawings make it easier to point to a seam, panel, pocket, or trim location without ambiguity.
Use numbered callouts that connect each feature to a written instruction. Define the seam or stitch direction where it matters, identify reinforcement points, and show the position of pockets, vents, zips, elastic, drawcords, labels, and hardware. If the factory should propose a construction solution, write that as an open decision rather than leaving the area blank.
- Essential views
- Front, back, and any detail view needed to explain a feature or internal finish.
- Construction
- Panel lines, seam type, topstitching, binding, reinforcement, lining, and edge finish.
- Functional details
- Pocket opening, closure direction, cord route, ventilation, articulation, and adjustment points.
Do not rely on a visual reference alone for a protected design, branded product, or construction you do not own. Send original or authorized development information.
3. Build a measurement specification that controls fit
A measurement table should name each point of measure, explain how it is taken, and state the target measurement by size. A labeled diagram is especially useful where two teams might measure the same feature differently—for example, body length from the highest shoulder point versus the center back neck.
Choose a base size and provide the intended grade across the size range. Add tolerances only after deciding which dimensions are critical to fit or function. A blanket tolerance copied across every point can create unnecessary risk: a small pocket opening and a full garment circumference should not automatically be controlled in the same way.
- POM code
- A stable code and name for every point of measure, linked to a measurement diagram.
- Size values
- Base-size measurements plus the intended grade for adult, youth, or other size ranges.
- Tolerance
- A written acceptable variance appropriate to the measurement and construction.
- Fit reference
- Approved block, reference sample, model dimensions, or written fit direction where available.
4. Specify materials and trims beyond a fabric name
Terms such as polyester, fleece, softshell, mesh, or ripstop describe broad families rather than one approved material. Record the intended composition, construction, weight or GSM direction, stretch, finish, handfeel, face and back, color, and performance requirement where applicable. If the exact supplier or quality is not fixed, state which attributes must be matched and which can be proposed.
Build a bill of materials that covers shell fabrics, linings, interlinings, pocketing, rib, elastic, zips, snaps, cord, toggles, thread, labels, and packaging components. Give every item a reference code and location. This allows a quotation to separate known inputs from provisional allowances and makes later substitutions easier to control.
- Fabric definition
- Composition, construction, GSM or weight, width if relevant, stretch, finish, color, and intended use.
- Trim definition
- Type, dimensions, material, color, finish, performance, supplier reference, and placement.
- Approval route
- Lab dip, strike-off, trim card, test report, sample, or buyer-supplied standard.
Numeric performance claims such as waterproofing or breathability only become meaningful when the unit, test method, target, material package, and reporting requirement are agreed in writing.
5. Control color, decoration, labels, and branding
List every colorway and show how colors map to garment panels, trims, thread, zips, labels, and decoration. Use an agreed color reference system where possible, but keep physical approval in the process when color accuracy is important. Screen appearance alone is not a reliable production standard.
Provide artwork as an appropriate production file and state the finished dimensions, colors, placement, and technique. Embroidery, screen print, transfer, patch, applique, and other methods each need their own approval route. Include main labels, size labels, care labels, hangtags, stickers, barcodes, and packaging artwork in the same controlled specification rather than treating branding as a late addition.
- Artwork
- Editable or production-ready file, finished size, color references, placement, and orientation.
- Decoration
- Requested technique, handfeel or appearance direction, substrate, and approval sample.
- Brand components
- Main, size, and care labels; hangtags; packaging; codes; legal copy; and destination requirements.
6. Include quantity and commercial planning inputs
A manufacturer cannot assess the same product in isolation from order structure. Share the total intended quantity and the expected split by style, color, and size. If the figures are forecasts, label them as estimates. Product-specific minimums can depend on fabric, dyeing, trims, decoration, and colorway complexity, so a clear breakdown is more useful than one combined collection total.
Add the ship-to country, target delivery window, preferred packing method, and any required commercial or export documentation. If you have a target cost, state what it includes—product only, packing, freight, duties, or another boundary. A price without a defined basis cannot be compared fairly.
- Quantity matrix
- Units by style, color, and size, with forecast and confirmed quantities identified.
- Timing
- Target sample date, approval window, bulk release target, and required delivery window.
- Delivery basis
- Destination, packing standard, freight responsibility, Incoterm preference, and required documents.
7. Define testing, sample stages, and approval authority
List any material, colorfastness, dimensional-stability, seam, print, weather, or other tests required for the product and market. Name the method or buyer standard when one applies. Do not assume that a material description automatically includes a particular result or report.
Write the expected sample path: development sample, fit sample, size set, pre-production sample, or other agreed stage. Identify who can approve fit, color, materials, artwork, labels, packaging, and bulk release. Record approvals in writing and update the tech pack so comments do not remain scattered across messages and older files.
- Sample purpose
- What each sample must prove and which inputs may still change after review.
- Test requirement
- Property, target, method, laboratory or report expectation, and responsible party.
- Approval owner
- Named buyer role for fit, color, artwork, materials, packing, and final release.
8. Run a quote-ready check before sending the brief
Before requesting a quotation, review the file as if the recipient has never seen the product. Confirm that drawings, tables, callouts, and attachments use the same style numbers and revision. Remove superseded information, label open questions, and distinguish mandatory requirements from preferred options.
A manufacturer may still need to ask questions or propose alternatives. That is normal. The value of a quote-ready tech pack is that those questions become specific: which material route, which tolerance, which decoration method, which packing component, or which test requirement. Specific questions create a better foundation for sampling and written approval.
- Identity
- Every page shows the correct style, revision, and date.
- Product
- Drawings, construction, measurements, materials, trims, and colors agree.
- Brand
- Artwork, labels, packaging, and destination copy are included or marked pending.
- Order
- Quantity split, timing, destination, testing, and delivery basis are stated.
- Control
- Open decisions and approval owners are visible.
ZM Exports provides a downloadable Tech-Pack & RFQ Checklist as a practical starting point. Your accepted quotation and latest approved specification remain the controlling project documents.