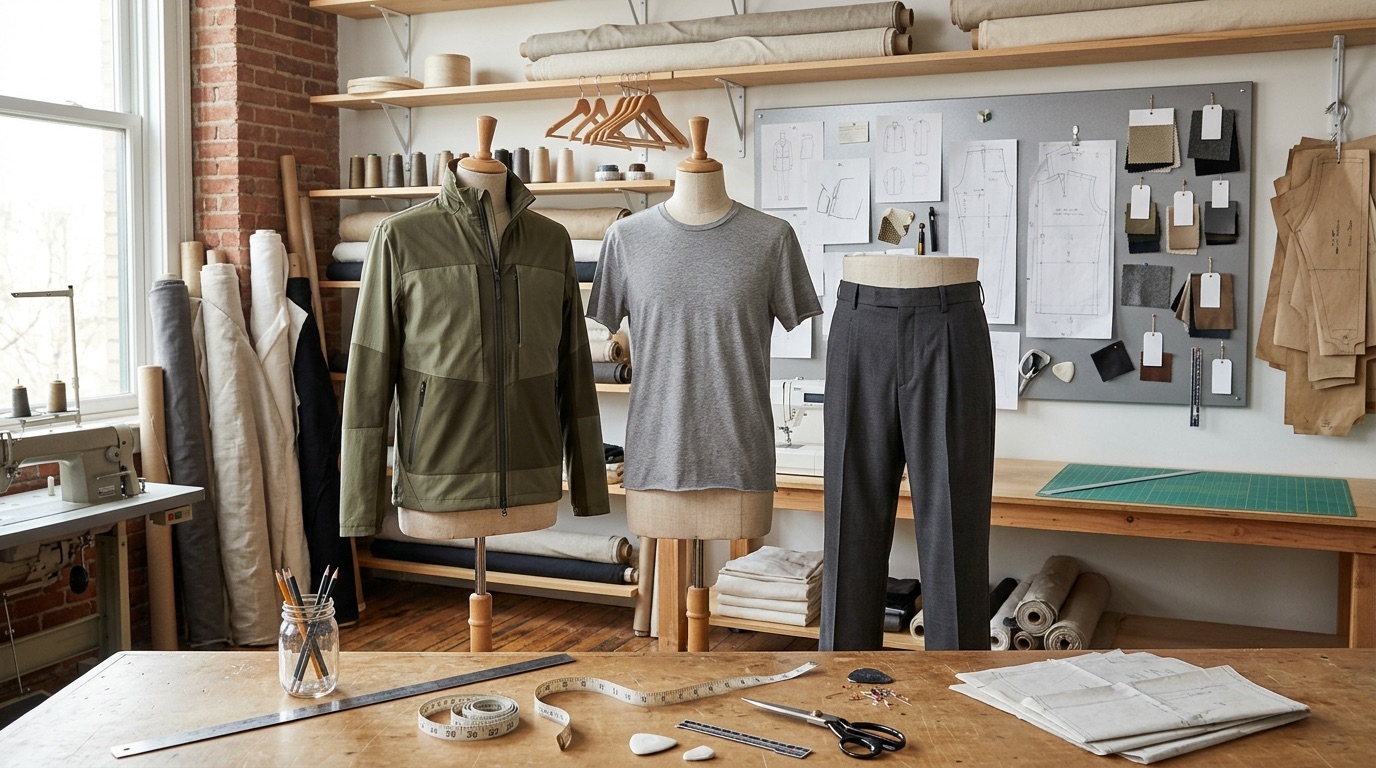
A sample request pack connects the drawing, measurements, material direction, trims, branding, construction details, and the exact purpose of the sample. A buyer gets a clearer result when this decision is recorded before sampling instead of being left to an informal message or a visual reference alone.
This guide is a practical planning aid, not a substitute for the accepted quotation, approved sample, or written project specification. ZM Exports works from buyer-approved inputs; final materials, methods, quantities, prices, lead times, and delivery requirements remain project-specific.
Key takeaways
- Give the sample a clear purpose.
- Include drawings and measurable callouts.
- Identify fabrics, trims, and branding status.
- Return one written consolidated decision.
1. Define the decision before requesting work
A sample request pack connects the drawing, measurements, material direction, trims, branding, construction details, and the exact purpose of the sample. Start by identifying what is fixed, what is still being compared, and who can approve the decision. A concise written brief prevents a sample from answering the wrong question.
Give the style or project a revision name and date. Keep images, comments, measurements, and files connected to that same revision so an older idea is not accidentally treated as the current instruction.
2. Supply inputs that can be checked
Include front and back views, style code, measurement chart, grade direction if known, fabric and trim references, colour direction, seam or finishing notes, artwork, labels, and any fitting reference. Identify every item that remains provisional.
Where a visual direction is important, identify the reference, the feature to copy or avoid, and the acceptable range. A photograph alone rarely defines construction, material behaviour, scale, colour, or finish well enough for production use.
3. Use the sample to answer the right questions
Review the sample against the stated goal: fit sample, material trial, construction proof, decoration trial, or pre-production approval. Check the whole assembly rather than approving one successful detail in isolation.
Record comments against the actual sample or proof version. State whether a comment changes fit, material, construction, decoration, packing, or only a presentation detail, then issue the next revision in writing.
4. Release the approved direction with control
After review, issue a consolidated comment sheet with a decision for every point: approve, revise, hold, or compare. Do not rely on an earlier sketch after a later sample has changed the construction.
Any change to the approved input can affect the result. Re-open the affected review when the material, component, artwork, size range, quantity split, destination, packaging, or production method changes.