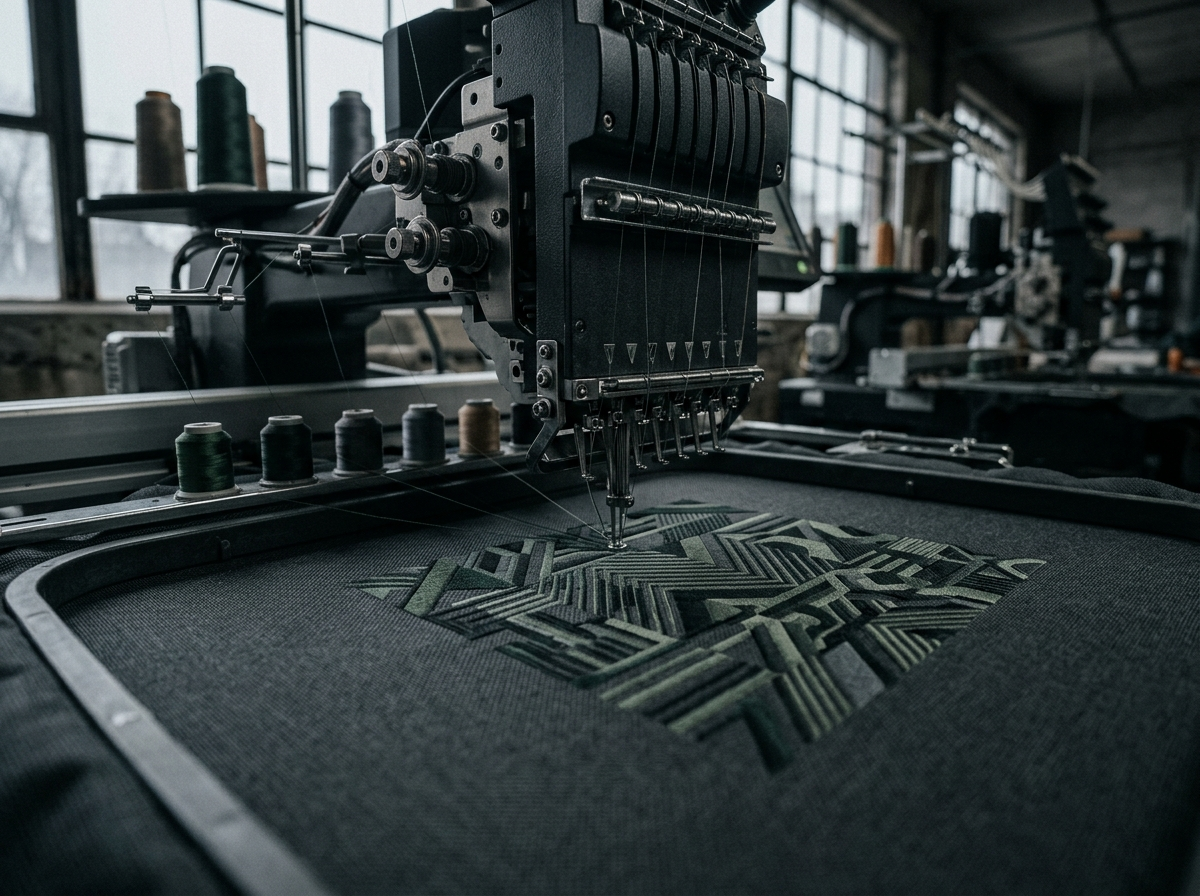
Private-label branding touches more than a chest logo or neck label. It can include main labels, size labels, care labels, hangtags, woven patches, print, embroidery, transfers, packaging marks, and the placement rules that connect them to each garment size and style. If those parts are not controlled before sampling, a sample may look acceptable while still leaving unanswered questions for bulk production.
A useful branding specification gives the buyer and manufacturer one shared reference for artwork, label content, placement, materials, construction, size variation, approvals, and changes. ZM Exports develops made-to-spec apparel with samples and quality checkpoints. Exact artwork, label content, materials, test requirements, pricing, quantities, lead times, and production results remain project-specific and require written approval.
Key takeaways
- Map every visible and internal branding component before requesting a sample.
- Supply final artwork files, size rules, colours, placement points, and approval versions together.
- Approve label material, edge finish, attachment, comfort, care information, and placement on the represented garment.
- Check branding in flat, worn, washed, packed, and size-varied states where relevant.
- Release one current branding pack with a clear change-control process for bulk.
1. Map the complete branding system
Start with the buyer-facing and regulatory components that belong to the style: main label, size label, care or content label, country-of-origin marking where required, hangtag, neck print, woven badge, embroidery, transfer, rubber patch, packaging sticker, barcode, and carton mark. Do not assume that a logo used on one garment is automatically suitable for every material, size, application method, or destination.
Give each component a stable code and show where it appears on the garment or pack. Include front, back, inside, close-up, folded, packed, and worn views where those reveal different placement or visibility concerns. A component map prevents a neck label, care label, sleeve mark, and hangtag from being approved separately without considering their combined effect.
2. Release usable artwork and copy
Provide the approved logo, wordmark, graphic, label copy, size scale, icons, and language in the format required for the agreed application. Record the version, artwork owner, colour references, dimensions, orientation, clear space, and what may not be changed. Raster previews are useful for review, but production artwork should be supplied in the agreed technical format with any fonts, outlines, layers, or colour separations confirmed.
Treat written label copy with the same care as artwork. State brand name, fibre or care wording, size notation, origin wording, warnings, product code, and language requirements supplied by the buyer. The manufacturer should not invent mandatory label content or market claims; destination-specific requirements and final copy need buyer review.
3. Define placement, measurement points, and size rules
A statement such as left chest, back neck, or sleeve is not enough. Define a fixed pattern point or finished measurement reference, the direction of measurement, the placement dimension, tolerance agreed by the buyer, and the garment state for measurement. For curved panels, seams, raglan sleeves, pockets, zippers, and hoods, show the relationship to nearby construction features so placement remains consistent after assembly.
State how placement and artwork scale change across sizes. A fixed-size chest embroidery may look correct on one size but not another; a label position may require a grade rule or a defined exception. Review represented small and large sizes before the artwork system is released to bulk.
4. Match the branding method to the garment
Identify the agreed method for each location: woven label, printed label, embroidery, screen print, transfer, patch, badge, heat-applied mark, or another buyer-approved method. Record the material, backing, thread or ink colours, dimensions, edge finish, attachment method, position, substrate, and approved sample reference. A method suitable for a stable cotton panel may behave differently on stretch knit, softshell, mesh, insulated fabric, or a seam-adjacent area.
Review the represented assembly for hand feel, bulk, stretch, recovery, show-through, puckering, abrasion, edge lift, colour appearance, heat response, decoration clearance, and compatibility with care or finishing. Substituting a backing, adhesive, thread, patch base, or label supplier can change the result and should reopen the affected approval.
5. Review branding on the physical sample
Review the complete garment, not only a loose swatch. Check left-right balance, height, centring, angle, scale, stitch or print coverage, loose ends, edge finish, label comfort, seam clearance, and interaction with closures, pockets, linings, and layers. Compare the sample against the current artwork and placement sheet rather than relying on memory or a previous style.
Where relevant, review the component after the buyer-agreed care, wear, stretch, rubbing, or packing condition. Record the sample version, material lot, application method, comments, decision, exceptions, and authority to proceed. If a sample is approved with a workaround, identify whether that workaround is permitted in bulk and how it will be checked.
6. Set practical quality controls
Define the visible result and defect limits for the represented style: wrong artwork version, incorrect colour, position error, distorted embroidery, poor coverage, broken thread, uneven print, lifted edge, label twist, sharp edge, wrong size label, missing care label, or incorrect pack mark. The buyer should state any required test method, preparation, acceptance criteria, reporting, and approver instead of assuming a general test covers all branding applications.
Connect controls to the production point where they can still be corrected. Incoming checks can confirm label or patch identity; first-piece checks can confirm placement and application; in-line checks can catch repeatable errors; final inspection can verify overall completeness and presentation. Keep records linked to the current approved component pack.
7. Release branding to bulk with change control
Issue one current private-label branding pack containing the component map, artwork files and versions, label copy supplied by the buyer, colour references, materials, application methods, placement points, size rules, construction notes, represented samples, quality limits, care or test requirements, approved exceptions, recipients, and effective date. Remove superseded files so the production team does not choose between conflicting versions.
Before broader production, verify a first piece for each material, branding method, placement type, size group, and high-risk interface. Recheck when artwork, copy, supplier, material, colour, backing, adhesive, pattern, size range, application setting, packing format, or destination requirement changes. This keeps the private-label appearance connected to a controlled approval decision rather than a last-minute production instruction.